


Opens in a new tab. Your article title and link are shared only with the AI assistant you choose.
How to take a good selfie starts with three things you can control: light, camera distance, and expression. You don’t need an expensive phone, a perfect face, or heavy filters to get a flattering result, because most bad selfies come from poor light, a lens that’s too close, or a tense pose.
A good selfie should still look like you while presenting you clearly and confidently. This guide covers lighting, angles, posing, camera settings, troubleshooting, and light editing for social media, travel, dating, and professional profiles.
How to Take a Good Selfies With Better Lighting
Start with soft light before you think about poses or filters. In 2025, 91% of U.S. adults owned a smartphone and 98% owned some type of cellphone, so better selfies now depend less on access to a camera and more on how you use the one already in your hand.
Use Window Light Indoors
Face a large window and stand a few feet back. Soft frontal or side light brightens the eyes, keeps skin texture natural, and reduces shadows from ceiling lights.
If the window is too bright, step back or diffuse it with a sheer curtain. A clear, evenly lit selfie also gives an AI-powered profile picture creator stronger source material for a polished profile image.
Find Open Shade Outdoors
Direct midday sun can make you squint and cast hard facial shadows. Move into open shade, keep the bright sky in front of you, and avoid overhead sun.
Golden hour works well because the lower sun gives softer, warmer light. In 2025, half of U.S. adults used Instagram, up from 40% in 2021, keeping mobile portraits relevant for social profiles.
Must-know Tip: Photographer Joe McNally teaches that light placement matters almost as much as camera placement. That is why moving two feet toward a window can improve a selfie more than adding another filter.
Choose a Flattering Angle Without Distorting Your Face
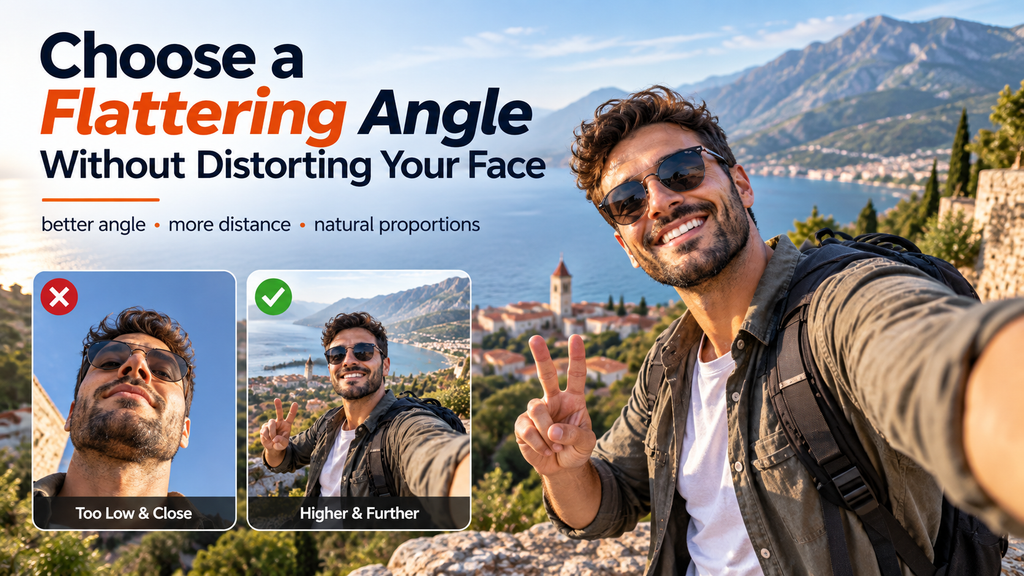
Hold the phone slightly above eye level and tilt it down only a little. Very low or very high angles can exaggerate facial features and weaken natural proportions.
Distance matters even more. A wide front lens held very close can make the nose and center of the face look larger than the ears and jaw.
Move the phone farther away and crop later if needed. A timer, tripod, shelf, or stable surface adds distance without forcing an awkward pose.
Avoid using 0.5x for a close face selfie unless you deliberately want an exaggerated wide-angle look. Start at 1x, and if your phone offers a true optical or high-quality portrait option, test it from farther back for more natural proportions.
Modern phones show how far selfie hardware has come, but technique still matters. Apple’s iPhone 16 has a 12MP autofocus front camera with 4K Dolby Vision up to 60 fps, while Google’s Pixel 9 Pro lists a 42MP autofocus selfie camera with a 103-degree field of view.
Must-know Tip: If your nose looks larger in selfies than in the mirror, do not immediately blame your face. Increase camera distance first, because perspective distortion changes as the lens moves closer or farther away.
Pose Naturally and Control Your Expression
Good posing removes tension instead of making you look staged. Turn your shoulders 20 to 45 degrees, relax them, and bring your chin slightly forward before lowering it a touch.
Relax Your Face and Eyes
Do not force a large smile. Think of something that genuinely makes you happy, breathe out, soften your jaw, and let the expression settle before you shoot.
Headshot photographer Peter Hurley describes the squinch as “a small adjustment to your eyes.” Slightly raising the lower eyelids while keeping the upper eyelids relaxed can reduce the startled, wide-eyed look that often appears when you stare too hard at the screen.
Give Your Hands a Job
If your hands feel awkward, lightly touch your hair, collar, glasses, jacket, or chin. Keep the touch gentle so you do not visibly press or reshape your face.
Take several small variations instead of trying to perfect one frozen pose. Jerry Ghionis summarizes his portrait process as “Light, location, pose, technique, emotion,” a useful order because expression works best after the basic setup is already under control.
Among U.S. adults in 2025, Instagram use reached about 80% for ages 18 to 29 but only 19% for adults 65 and older. That age gap shows why there is no single “correct” selfie style, so match your expression, crop, and background to the platform and audience rather than copying every trend.
Use Camera Settings That Make Selfies Sharper
Clean the lens before shooting. Fingerprints reduce contrast and can make a focused image look hazy.
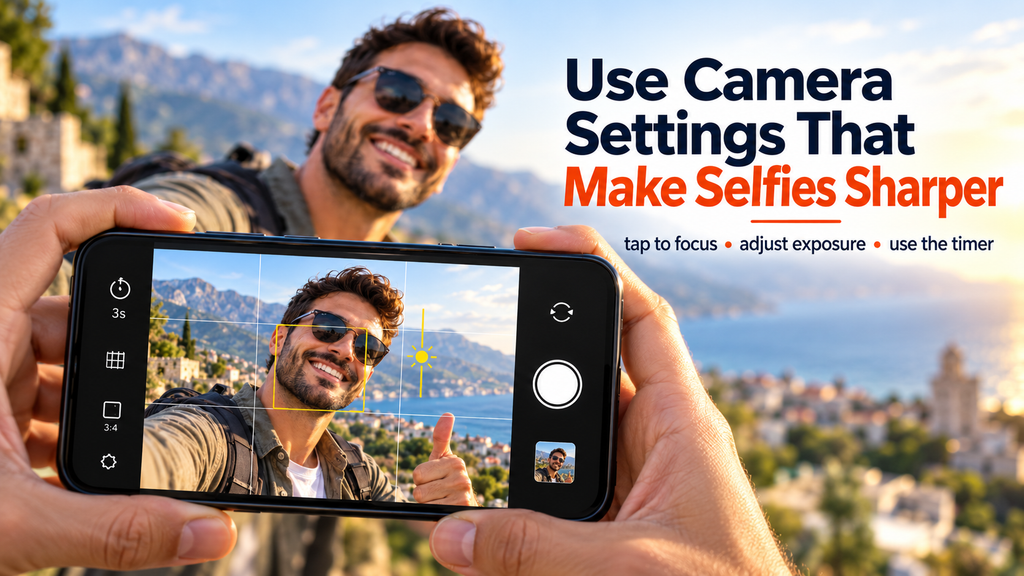
Tap your eye or face on the screen to set focus, then adjust exposure if your phone allows it. If your skin is blown out, lower exposure slightly, and if your face is too dark against a bright background, move toward the light before relying on digital correction.
Turn on the grid to keep your eyes level and control headroom. Leave enough space around your head so circular profile crops do not cut into your hair or chin.
Use the timer when the phone is farther away and burst mode when your expression changes quickly. For rear-camera selfies, frame yourself with a mirror, smartwatch preview, tripod, voice command, or test shot.
Do not assume more megapixels automatically mean a better selfie. Processing, lens quality, autofocus, lighting, exposure, and camera distance all affect the final image, so a well-lit shot from a lower-resolution camera can beat a poorly lit shot from a higher-resolution sensor.
Smartphone ownership also remains high across age groups: Pew’s 2025 survey reported 97% ownership among adults 18 to 29, 96% among ages 30 to 49, 90% among ages 50 to 64, and 78% among adults 65 and older. That makes simple camera-setting advice useful well beyond younger social-media users.
Fix Common Selfie Problems Before You Edit
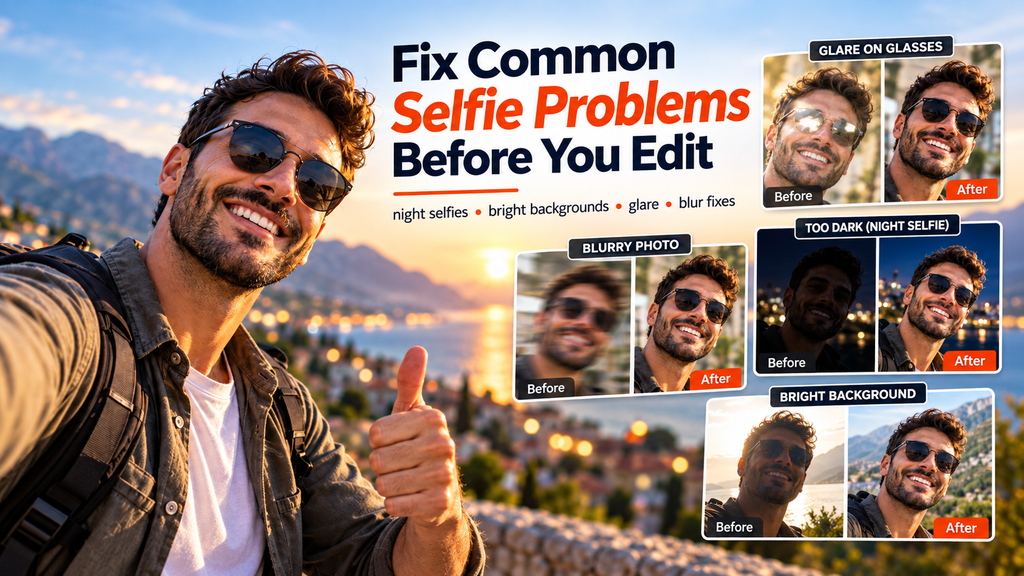
Most selfie problems are easier to prevent than repair. If a photo looks wrong, check light, perspective, focus, movement, background, and expression before editing.
Night Selfies and Bright Backgrounds
At night, move toward a larger light source such as a storefront, lamp, sign, or window instead of using harsh close flash. Hold the phone steady, avoid digital zoom, and take several frames because low light increases blur and noise.
If the background is much brighter than your face, tap on your face and adjust exposure, but expect the background to lose some detail. The better fix is often to rotate your position until some light reaches your face, then expose for skin rather than trying to rescue a silhouette later.
Glasses, Group Photos, and Full-Body Selfies
For glasses glare, move the phone or light slightly higher or to the side until reflections disappear. Do not tilt your glasses dramatically, because that can look unnatural and change how the frames sit on your face.
For groups, move the phone farther away and keep everyone at a similar lens distance. For full-body selfies, avoid putting an ultrawide lens close to the body because nearby legs, feet, or hips can stretch.
Also inspect the edges of the frame before taking the photo. A clean background helps viewers focus on your face and prevents objects such as poles, doorframes, signs, or strangers from appearing to grow out of your head.
Must-know Tip: When a selfie looks strange, fix one variable at a time. Change the light first, then distance, angle, and pose, and only then decide whether you need to edit.
Edit Lightly and Choose the Best Selfie
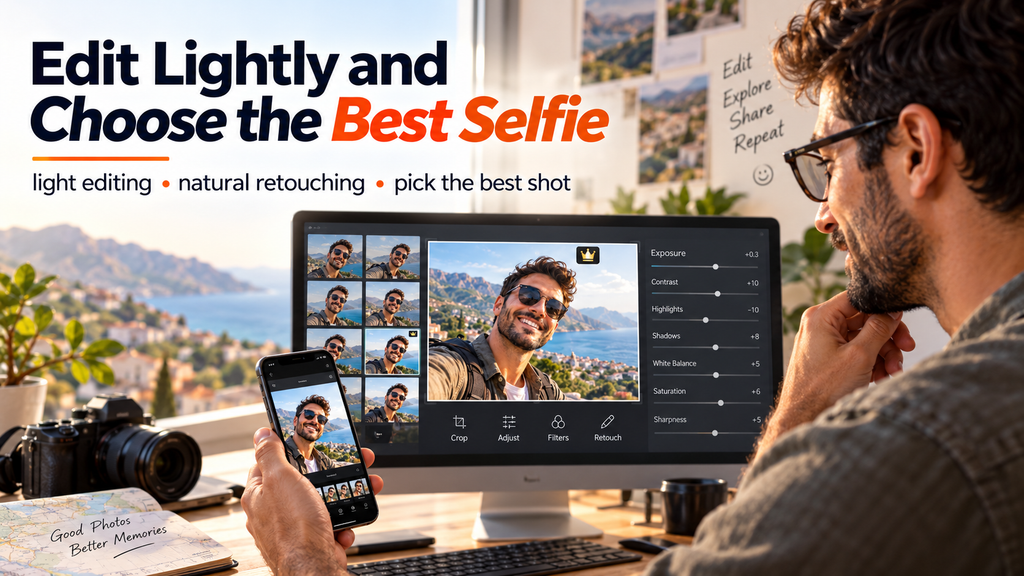
A strong edit improves visibility without changing who you are. Fix exposure, white balance, highlights, shadows, contrast, and crop before smoothing or reshaping skin.
Reduce bright highlights if the forehead or cheeks look washed out, then lift shadows slightly if the eyes are too dark. Keep skin texture visible and avoid sharpening so aggressively that pores, hair, and edges start to look unnatural.
When choosing between similar frames, compare expression first. Pick the image with engaged eyes, relaxed posture, and no distracting signs, reflections, screens, or personal information.
Then check that the eyes are sharp. For a profile photo, preview a small circular crop because a balanced full-screen image may feel cramped when cropped tightly.
Do a final privacy check for work badges, addresses, license plates, screens, documents, mirrors, and location clues you did not intend to share. This matters especially with mirror selfies, where reflections can reveal more of a room than you noticed while posing.
A 60-second checklist makes the process easier:
- Clean the lens and face the best light.
- Hold the camera slightly above eye level.
- Increase camera distance.
- Relax your shoulders and jaw.
- Tap to focus on the eyes.
- Check the background and reflections.
- Take several frames.
- Edit lightly and choose the most natural one.
Conclusion
How to take a good selfies becomes much easier when you stop treating the camera as the problem and control the basics in the right order. Start with soft light, move the phone farther away, use a slightly higher angle, relax your face and shoulders, focus on the eyes, and take several variations instead of depending on one shot.
Use timers, the rear camera, grids, exposure control, and portrait features when they solve a specific problem, not because every feature needs to be turned on. Keep editing subtle, protect natural skin texture, check your background for privacy, and choose the frame that looks confident rather than the one with the strongest filter.
Frequently Asked Questions
Why Do I Look Different in Selfies Than in the Mirror?
A mirror shows the reversed face you see every day, while many saved selfies do not. Close lenses can also distort proportions, so unfamiliarity and perspective both matter.
What Is the Best Angle for a Selfie?
Start slightly above eye level and turn your face a little. Small adjustments usually look better than extreme high or low angles.
How Far Should My Phone Be From My Face?
Farther is usually more flattering than inches from your face. Extend your arm or set the phone down, then crop later if needed.
Is the Front or Back Camera Better for Selfies?
The rear camera often offers better hardware, while the front camera is easier to frame. Use the rear camera when quality matters and you can frame with a timer, mirror, watch, or tripod.
How Can I Take a Good Selfie at Night?
Find a larger, softer light source, hold the phone steady, avoid digital zoom, and take several frames.
Why Does My Nose Look Bigger in Selfies?
The camera is probably too close. Increase distance because wide lenses exaggerate features nearest to the lens.
How Do I Avoid a Double Chin in Selfies?
Lengthen your neck, move your chin slightly forward and down, and keep the camera around or just above eye level.
How Do I Take Selfies With Glasses Without Glare?
Change the angle between your glasses and the light. Moving the phone or light slightly higher or sideways often removes glare.
Should I Use Portrait Mode for Selfies?
Use portrait mode when the phone can clearly separate you from the background. In poor light or around complex hair edges, normal mode may look more natural.
How Many Selfies Should I Take Before Choosing One?
A short burst of five to ten frames usually gives you useful changes in expression without creating dozens of near-duplicates.
What Makes a Good Professional Selfie?
Use clean light, a simple background, natural expression, and role-appropriate clothing. Crop closely enough for your face to remain clear as a small thumbnail.


Comments
0 responsesNo comments yet. Be the first to share your thoughts.